
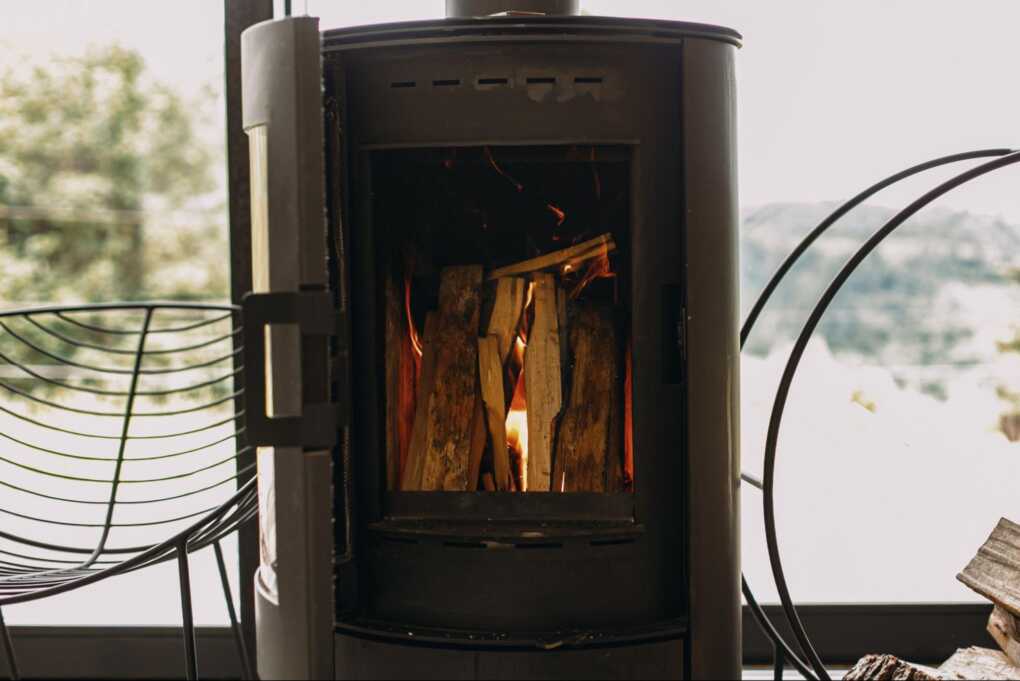
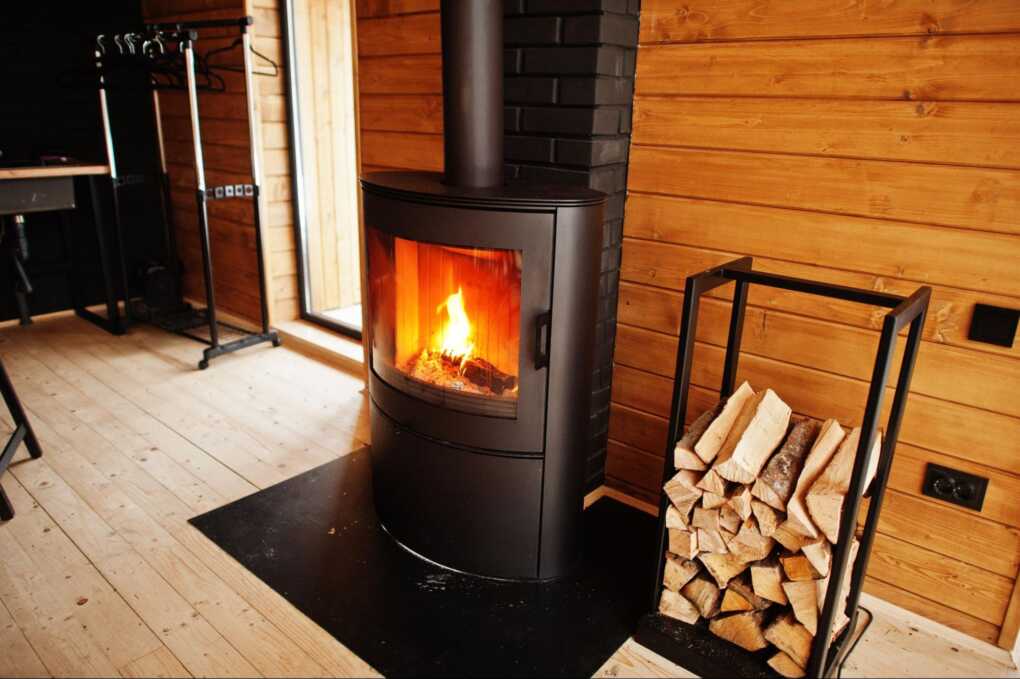
A well-used wood-burning stove can start to show its age: scratched paintwork, dull colour, maybe even a bit of rust. Painting your stove is an easy and cost-effective way to give it a fresh look and restore its warm, cosy feel. Whether it’s a log burner, multi-fuel stove, or cast-iron fireplace, the right paint job makes a huge difference.
But not just any paint will do. You need heat-resistant paint or high-temperature paint, specifically designed to cope with the very high temperatures these stoves reach. And it’s not just about the finish, though an ultra-flat matt finish is a popular choice, but also about safety, proper adhesion, and longevity.
This guide walks you through every step, from surface preparation to the final curing process, whether you’re painting a stove, surround, or even looking to paint bare brick or lime plaster areas nearby. Done right, it’ll look sharp and stay that way; no peeling paint, no flaking, no regrets.
Get the Right Materials
Before you touch a brush or spray can, get your materials sorted. Not all paints are created equal, and using the wrong type is a fast track to a flaky, unsafe finish.
You’ll need:
- Heat-resistant paint, high-temperature paint or a dedicated stove paint (check the fire rating)
- A stiff wire brush, steel wool, and fine sandpaper
- Clean cloths, dust sheets, painter’s tape
- Gloves, goggles, and a dust mask
- Optionally, a primer if your surface is bare brick, lime plaster, or any porous surface
Check the manufacturer’s instructions on your chosen paint. It should clearly state that it’s suitable for wood-burning stoves or painting fireplaces and rated for very high temperatures. Don’t be tempted by decorative alternatives, as they’re not built to handle such high temperatures and will start to peel or discolour once the stove is in use.
For a classic, no-shine look, go with an ultra-flat matt finish. If your stove is exposed to daily use, consider paints that allow for easy touch-ups. You can find various high-temperature paints and refractory materials at Vitcas.
Prepare the Surface
This is where the real work begins. Surface preparation is the most important step; skip it and even the best paint will fail.
Start by turning off and letting the wood stove cool completely. It must be cold to the touch before you begin. Next, give it a thorough clean. Use a vacuum and dry cloth to remove dust, then scrub with a damp cloth to lift off any dirt, grease, or dry stains.
For areas with peeling paint, rust, or old finishes, grab your stiff wire brush, steel wool, or fine sandpaper and go to work. Strip back to a smooth, clean surface. This is especially important on previously painted areas – you want the new paint to stick directly to solid metal or brick, not to loose or flaky coatings.
If your fireplace includes bare brick, new plaster, or has a high clay content, these are porous surfaces and need special treatment. Consider sealing them or using a breathable primer that won’t trap moisture. Be careful with lime plaster – its breathable properties are vital to preserve, so always choose compatible products.
Once you’ve prepped everything, wipe down the surfaces one last time. Make sure the stove is completely dry and free of dust or residue before painting.
Mask Off and Protect
Before you open the paint tin or shake that spray can, protect everything you don’t want painted. Masking is simple but essential – skip it, and you’ll be scraping paint off glass and tiles for days.
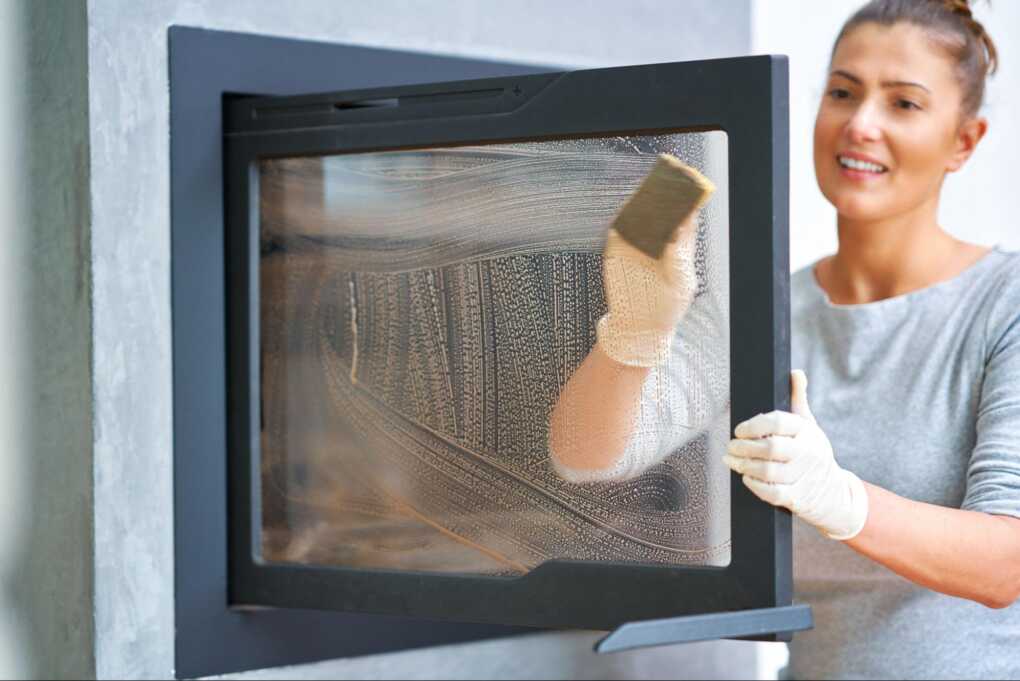
Use painter’s tape to carefully cover handles, vents, and glass panels on the wood-burning stove or log burner. Pay extra attention to edges and corners where paint can pool. If your stove is freestanding near a wall, mask off surrounding brick, wood, or new plaster if you’re not planning to paint them.
Lay down dust sheets or old sheets to catch drips and overspray. If you’re working in a fireplace or hearth area, tape plastic or cardboard over the surrounding surfaces. Even ultra-flat matt finish paints can leave a mark if you’re spraying or brushing close to the edge.
And ventilation isn’t optional, it’s crucial. Make sure you’re in a well-ventilated area, with windows open and fans on if needed. Even heat-resistant or high-temperature paint can release fumes during application, especially spray versions. A dust mask is essential; a respirator is even better.
Apply the Paint
With everything masked and prepped, it’s time to paint. Start by reading the manufacturer’s instructions, as each product is different, and you don’t want surprises mid-job.
Heat-resistant paint is typically applied using a brush, roller, or spray. Many people prefer the spray version for a smoother finish, especially on curved or uneven surfaces like those on a cast-iron stove or log burner.
No matter the method, the rule is simple: thin coats only. Avoid the urge to slap on one thick coat – you’ll end up with runs, bubbles, and a poor finish that might peel under high temperatures. Instead, apply a light first coat and let it dry fully. Follow up with one or two more thin coats as needed. Allow full drying time between each coat, even if it looks dry to the touch.
If you’re also painting fireplaces or surrounding areas, make sure those surfaces can handle the heat. To paint bare brick or plaster, especially if it’s lime plaster or has a high clay content, you’ll need the right paint and sometimes a primer. These are porous surfaces, and regular paint may not adhere properly or could trap moisture.
Spray outdoors if possible, or use a cardboard shield to control overspray. Keep the nozzle moving and stay around 20–30 cm from the surface. Let each layer dry naturally, don’t rush with a heater or hairdryer.
Done properly, you’ll end up with a smooth, durable, heat-resistant finish that holds up to very high temperatures and keeps your wood-burning stove looking sharp season after season.
Curing Process
Once the final coat is dry, your freshly painted wood-burning stove isn’t quite ready for use. First, it needs to be cured – this sets the paint and makes it fully resistant to very high temperatures.
Follow the manufacturer’s instructions on curing. Typically, it involves gradually heating the stove over a few hours. Start with a small fire or low burn and slowly build up to normal operating temperature. This helps the paint bond properly and prevents peeling, blistering, or bubbling.
During the curing process, don’t panic if you notice a bit of smoke, light fumes, or an odd smell. It’s completely normal for high-temperature paint. Just make sure your space is a well-ventilated area, with windows open and fans running.
Don’t touch, wipe, or clean the stove during this process. Let it cool down naturally once the burn is complete.
Finishing Touches and Tips
After curing, inspect your log burner or stove closely. Look for any missed spots, drips, or inconsistencies. You can do minor touch-ups now, following the same method: thin coats, proper drying, and controlled application.
If any dust or debris has settled on the drying paint, remove it gently with a stiff wire brush or a clean cloth – don’t scrub hard or you’ll damage the finish. Avoid using harsh cleaners or abrasive pads. A simple soft cloth will maintain that clean, ultra-flat matt finish and keep the soft glow of the stove intact.
Don’t forget regular maintenance. Wipe down the surface occasionally to remove soot and grime buildup. Never paint over soot, grease, or creosote – clean it first, then recoat if needed.
And finally, if your stove is surrounded by brick, wood, or lime plaster, inspect those surfaces periodically too. If you’ve chosen to paint bare brick or nearby walls, make sure they’re still holding up under the heat and remain free from flaking or bubbling.
Summary
Painting a wood-burning stove or log burner isn’t difficult, but it does require care, patience, and the right paint. By focusing on solid surface preparation, using heat-resistant products, and sticking to thin coats with a proper curing process, you’ll get a clean, long-lasting finish that can take the high temperatures of regular use.
Done right, it transforms the look of your room, bringing warmth, a cosy feel, and a refreshed focal point to your space. Whether it’s your first time or part of regular upkeep, painting fireplaces and stoves is a satisfying way to bring tired surfaces back to life.
Just remember: not all paints are created equal, and your stove deserves the kind specifically designed to handle the fire, temperature, and daily use that comes with the job.