
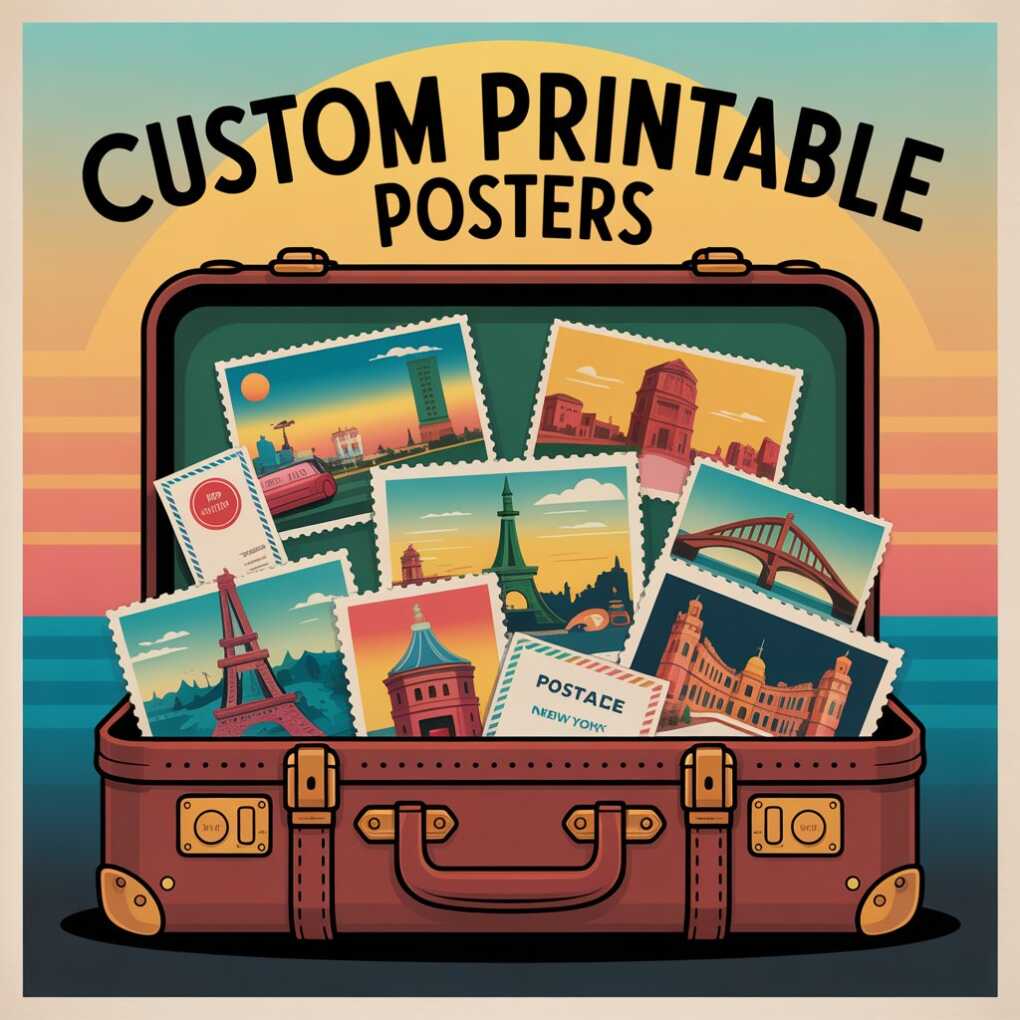
Ever walk into a room and feel like something’s… missing? That blank wall is staring back at you, begging for a personality. But here’s the thing: finding that perfect piece of art can feel impossible. It’s either too expensive, too generic, or just not you. What if I told you the solution is hiding in plain sight, right on your computer? Forget the endless scrolling and the hefty price tags. The secret to a home that truly reflects you isn’t in a fancy store. It’s in creating your own custom printable posters.
This is more than just a DIY project; it’s a revolution in home decor. It’s about empowerment. It’s about taking your memories, your passions, and your unique taste and transforming them into tangible art. No longer are you confined to what’s available. You become the curator, the artist, the designer. The best part? It’s shockingly simple, incredibly affordable, and an absolute joy to do. Ready to turn those blank spaces into a gallery of your own making? Let’s get started.
The “Why”: Unpacking the Allure of the Printable Poster
Why has the world of printable vintage art and modern digital downloads exploded? It’s not just a trend; it’s a fundamental shift in how we think about decorating our spaces. We crave authenticity. We want our homes to tell our story, not the story of a mass-produced furniture catalog.
Imagine this. You have a breathtaking photo from your hike in the Rockies. It’s just sitting on your phone. Now, imagine that very photo, professionally printed and framed, taking center stage in your living room. Every time you look at it, you’re transported back to that crisp mountain air. That’s the power of custom art. It’s emotional. It’s personal. It’s a conversation starter that is genuinely yours.
Beyond the sentiment, the practical benefits are huge.
- Cost-Effective Magic: You are paying for the digital file and the print, not the shipping, handling, and markup of a physical product. This slashes the cost dramatically.
- Instant Gratification: See a design you love? Download it and send it to your printer within minutes. No waiting for shipping.
- Unlimited Flexibility: Found the perfect design but need it in a different size? With a high-resolution file, you can scale it to fit any frame, any space.
- Eco-Conscious Choice: You print locally, reducing the carbon footprint associated with shipping large, physical items across the globe.
It’s a win-win-win situation. For your wallet, for your soul, and for the planet.
Pro Tip: Start a dedicated folder on your computer for “Home Art Ideas.” Whenever you see an image, a color palette, or a quote online that resonates with you, save it there. This becomes your invaluable mood board for when you’re ready to create.
Phase 1: The Blueprint – Inspiration and Sourcing Your Art
Before you open a single design program, you need a vision. What is the vibe you’re going for? Is your home a minimalist sanctuary, a bohemian retreat, or a modern industrial loft? Your art should complement and enhance that aesthetic.
Where to Find Your Raw Materials:
- Your Own Photos: This is the motherlode of personal art. Dig through your archives. That macro shot of a flower from your garden? Black and white cityscape from your vacation? Your dog being ridiculously cute? These are all potential masterpieces. Modern smartphones take incredibly high-resolution photos perfect for printing.
- Digital Marketplaces: There are incredible online hubs where artists sell their work as digital files. Sites like Etsy, Creative Market, and of course, printable vintage art galleries are treasure troves. You can find everything from abstract line art to stunning printable posters of classic movie motifs. A fantastic resource to explore is this extensive collection at downloadartwork.com/wall-art/printable-art/.
- Public Domain Archives: Want something truly unique and historical? Dive into the digital collections of museums like The Metropolitan Museum of Art, The Rijksmuseum, or The Smithsonian. Millions of artworks are available for free, high-resolution download because their copyright has expired. You can have a real Van Gogh or a botanical drawing from the 1700s on your wall!
“A room should never allow the eye to settle in one place. It should smile at you and create fantasy.” – Juan Montoya
Phase 2: The Toolbox – Gearing Up for Design Success
You don’t need to be a graphic designer to create beautiful posters. Seriously. The tools available today are incredibly user-friendly. Here’s a breakdown of your options, from beginner to pro.
The Software Spectrum:
| Tool | Best For | Skill Level | Cost |
|---|---|---|---|
| Canva | Absolute beginners. Tons of templates. | Easy | Freemium |
| Adobe Express | Quick edits, social graphics, simple posters. | Easy | Freemium |
| GIMP | A powerful, open-source alternative to Photoshop. | Intermediate | Free |
| Adobe Photoshop | Professional-grade control and editing. | Advanced | Paid Subscription |
| Adobe Illustrator | Creating vector-based designs (logos, text-based art). | Advanced | Paid Subscription |
For 95% of people, Canva is more than enough. It’s web-based, has a drag-and-drop interface, and thousands of free templates, fonts, and design elements. It’s the perfect playground to start experimenting.
Crucial Technical Specs: Don’t Skip This!
This is the only “boring” part, but it’s the most important. Get this wrong, and your poster will look blurry and unprofessional. Get it right, and no one will believe you made it yourself.
- Resolution is King: Always aim for a high-resolution file. 300 pixels per inch (PPI) is the gold standard for print quality. When you download an image, check its dimensions. An image that is 1800 x 2700 pixels will print perfectly at 6″ x 9″ (1800/300=6, 2700/300=9).
- Color Profile Matters: Screens use RGB (Red, Green, Blue) light. Printers use CMYK (Cyan, Magenta, Yellow, Key/Black) ink. For the most accurate colors, design in or convert your file to CMYK before printing. Your printing service can usually help with this.
- File Format: For posters, a .PDF is often the best bet as it preserves your formatting. A high-quality .JPEG or .PNG (if you need a transparent background) also works well.
Phase 3: The Creation – Designing Your Masterpiece
Now for the fun part. Let’s say you’re using Canva. You’ve found a template you like or you’re starting from a blank canvas. Here’s how to think like a designer.
Composition and Layout: Don’t just plop your image in the center and call it a day. Play with negative space. Maybe your image is off to the side with a impactful quote on the other. Balance is key.
Typography Tells a Tale: If you’re adding text, choose your fonts wisely. A sleek, minimalist sans-serif font (like Helvetica) conveys a modern feel. A elegant serif font (like Garamond) feels classic and trustworthy. And please, don’t use more than two or three different fonts in one design. It gets messy fast.
Color is Emotion: Colors dictate the mood of your piece. Use a color picker tool to pull colors directly from your photograph to create a harmonious palette. Tools like Coolors.co can help you generate beautiful, complementary color schemes from a single seed color.
Pro Tip: When designing, add a 0.125-inch (3mm) “bleed” around your canvas if your design has a background color that goes to the edge. This ensures no unprinted edges occur during the trimming process. Most printing services will ask for this.
Phase 4: The Physical Realm – Printing and Paper Choices
Your digital file is perfect. Now, it’s time to bring it into the real world. You have two main paths here.
Home Printing:
- The Good: Ultimate control and instant results. Great for testing designs or printing smaller posters.
- The Not-So-Good: Home printers often can’t handle large-format paper. Inkjet prints can be susceptible to fading over time if not using archival inks. The cost of premium ink and paper can add up.
If you print at home, invest in heavy-weight, bright white paper. Matte photo paper is a great choice for a modern, glare-free finish.
Professional Printing:
- The Good: Unbeatable quality, large-format options, and professional-grade materials. They offer a variety of paper types and finishes that can elevate your poster to a true art piece.
- The Not-So-Good: It takes a bit longer and costs more than home printing (though still less than buying pre-made art).
Your Paper Cheat Sheet:
- Matte: No glare, gives a modern, soft-touch feel. Perfect for detailed illustrations or text-heavy posters.
- Glossy: Vibrant colors and sharp contrast. Can be prone to fingerprints and glare under light.
- Satin/Luster: The best of both worlds. It has a slight sheen but no glare, with rich color depth. Often the preferred choice for photographic prints.
- Cardstock: A stiff, thick option that feels substantial and doesn’t always require framing.
Staples, Office Depot, FedEx Office, and online services like Vistaprint or Mpix are all reliable options. Just make sure you’re uploading that high-res file!
Phase 5: The Final Flourish – Framing and Styling
The frame is the suit your poster wears. It can make or break the entire look. A good frame protects your art and integrates it into your room’s design.
Choosing a Frame:
- Match the Style: A sleek, black metal frame suits modern designs. A warm, wooden frame complements rustic or printable vintage art. A ornate, gold frame can elevate a classical piece.
- Matting Matters: A mat is that cardboard border between the art and the frame. It gives the art room to “breathe” and looks more professional. White or off-white mats are classic, but a colored mat can add a surprising and dramatic pop.
- Go Frameless: For an ultra-modern look, consider a clip frame or have your poster mounted on a stiff board (known as gallery mounting).
Styling on Your Walls:
Don’t just hang one small poster on a giant wall. Create impact.
- The Gallery Wall: Mix and match sizes, frame styles, and art types (your custom posters, family photos, maybe a small object like a wreath). Lay it all out on the floor first to find an arrangement you love before hammering any nails.
- The Oversized Statement: One massive, bold poster can be a breathtaking focal point all on its own.
- Lean Don’t Hang: Lean larger, framed posters on a mantelpiece or a shelf against the wall. It gives a relaxed, collected-over-time vibe.
Your Home, Your Gallery
Creating custom printable posters is more than a weekend project. It’s a mindset. It’s about looking at your surroundings and deciding that they should spark joy, tell a story, and reflect the incredible person you are. It breaks down the elitist barriers of the art world and puts the power directly in your hands.
The process itself is half the fun. The hunt for the perfect image. The playful experimentation with design. The satisfaction of holding a physical object that you manifested from a digital idea. So open that laptop. Dive into your photo library. Explore those digital archives. Your walls aren’t just blank spaces. They’re blank canvases, waiting for you to make your mark. Start creating your gallery today.