
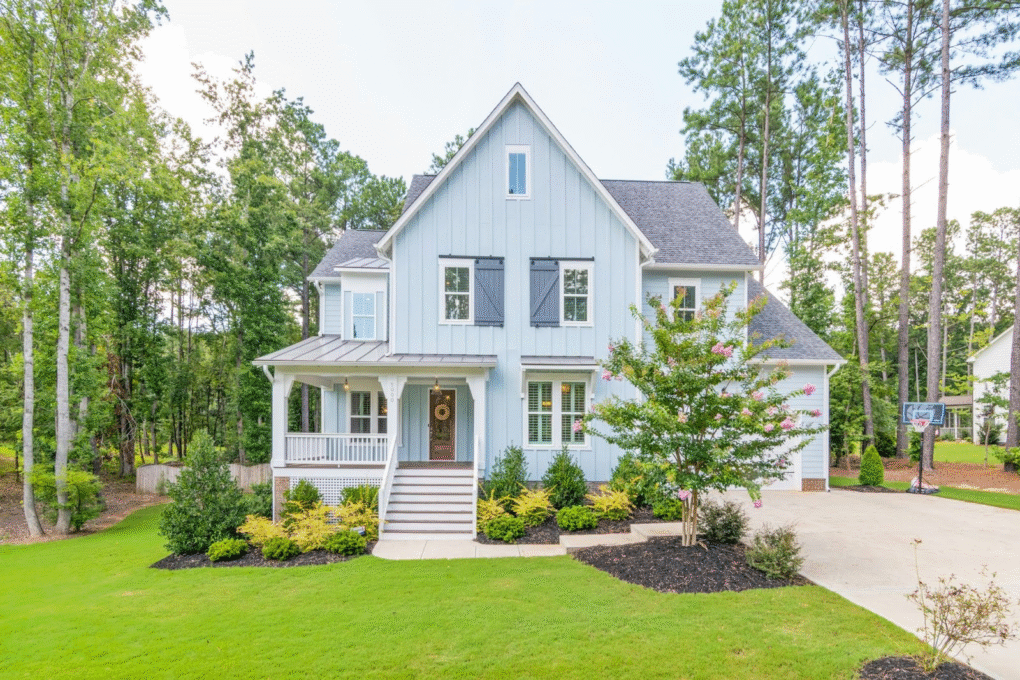
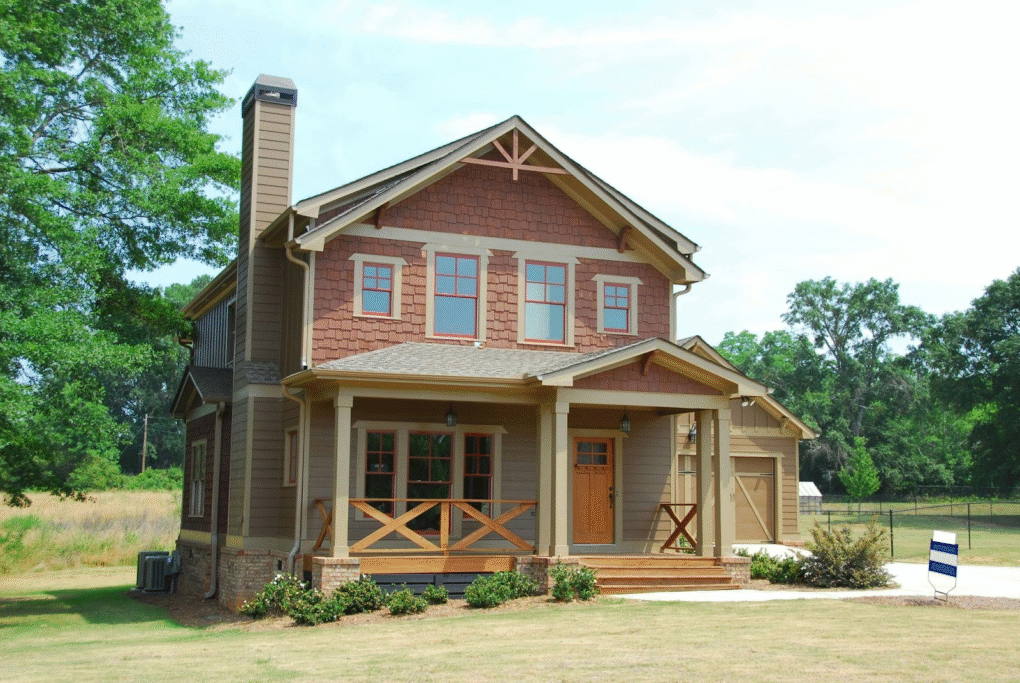
I don’t know about you, but undertaking a major home renovation, especially on the exterior, is nerve-wracking. We’ve all heard those horror stories: the new siding color that looks totally wrong in the sun, the misplaced garden path, or the dreaded budget overruns caused by design changes mid-construction. This immense anxiety stems from one thing: the inability to see the finished product before the work truly begins. That’s where 3d exterior rendering services come in, acting as your project’s crystal ball. A 3d exterior rendering service provides a photorealistic preview that removes all the guesswork and financial risk. This isn’t just about making pretty pictures; it’s about making wise decisions. We’re going to walk through the essential phases—a practical, homeowner-focused guide—to show you exactly how to leverage this service and ensure the final result matches the precise vision in your head.
Phase 1: Preparation—Gathering the Digital Ingredients
Before you even start hunting for an outdoor rendering services provider, you need to prepare your digital “ingredients.” Think of this as the foundation of your future render; garbage in equals garbage out! The rendering company cannot work magic with vague sketches. The absolute necessities are your existing architectural blueprints; if you have them in digital formats like CAD files, that’s best—it saves time and prevents errors. Beyond the dimensions, you must provide precise material specifications. We need the specifics: the exact brand and color code of the roofing shingles, the manufacturer and finish of the siding, the type of natural stone pavers, or the paint color you’ve chosen for the trim. By providing high-quality, unambiguous source material, you ensure rendering accuracy and significantly speed up the entire creation process, saving you money in the long run.
Defining the Scope and Viewpoints
Here is where you take control of the narrative. You need to tell the 3d exterior architectural services firm exactly what you want to see, because this directly impacts the cost and output. Are you building a simple new front facade, or do you need a full 360-degree virtual tour of the entire property? You must decide which key viewpoints are non-negotiable—the head-on view of the front door, the view from the street that includes the landscaping, or a specific angle of the backyard patio and deck. Crucially, communicate the desired atmosphere: do you want a render showing a sunny mid-morning glow, a dramatic twilight setting with all the custom lighting on, or a moody autumn look? Clearly defining the scope of your exterior 3d visualisation prevents endless revisions and keeps the project focused.
Phase 2: Collaboration—The Iterative Design Process
Working with your chosen rendering studio is a partnership, not a simple order. The process typically moves through three distinct approval stages, and your timely, constructive feedback is absolutely vital. First, you’ll see the wireframe or “clay” model approval, where you check the basic geometry, dimensions, and massing—make sure the windows and doors are in the right places. Second is the texture and lighting preview, where you check that the wood grain, brick texture, and paint colors look correct under the proposed lighting conditions. Finally, you get the final high-resolution render. Remember, providing timely feedback at the first two stages prevents costly, time-consuming revisions on the final product. You are an active participant, and your diligence here is the best insurance against disappointment.
Translating Feedback into Digital Revisions
From experience, the most considerable delay in this phase is vague feedback. When you tell the external rendering services team, “Make the brick look warmer,” they have to guess what you mean. That’s inefficient and expensive. Instead, use clear, measurable requests. For example, “Change the stone on the base from the current warm beige to a more consistent blue-gray granite texture,” or “Lower the height of the backyard fence by 300 millimeters.” This is the core magic of architectural exterior 3d renderings: it’s so easy and fast to make digital changes—swapping out a whole roofing style or changing the color of the window frames—at the preview stage. Imagine the massive savings compared to making those physical changes later, when the builder has already installed the wrong materials on your construction site.
Phase 3: Finalizing and Utilizing the Asset
You’ve done the hard work, and the gorgeous, photorealistic exterior 3d render is ready. The final delivery should include high-resolution image files in formats suitable for printing or web use, with different aspect ratios for marketing. But this image is much more than a pretty picture; it is now the “project blueprint”—the single source of truth for your entire build. You should leverage this asset to manage your project, ensure quality, and communicate effectively with everyone involved.
- Contractor Alignment: Showing the builder the precise material, texture, and color combinations ensures they know exactly what to order and install.
- Financing: Using realistic visual assets to secure loans or permits often speeds up approval with financial institutions and local councils.
- Homeowner Certainty: The render acts as your final sign-off, eliminating “design regret” before construction even starts.
Ensuring Project Consistency with the Rendering
The final step for any homeowner is the transition from the digital model back to the physical world. Your 3d architectural exterior rendering services asset is now your quality control tool. You need to actively ensure the contractor uses the rendering as an unwavering benchmark throughout construction. When materials arrive on the site, check them against the render: Does the brick color match the approved digital sample? Is the garage door model exactly the one you chose in the final visualization? This verification process prevents those expensive, frustrating, late-stage discrepancies that derail timelines and inflate budgets. By making the render the final authority, you maintain control over the project’s outcome.
Conclusion: From Vision to Reality, Digitally Assured
Let’s be clear: engaging a 3d exterior rendering service is not an optional frill; it is a vital, preventative part of modern project management. The investment pays for itself many times over by mitigating financial and design risks. By following the three distinct phases—meticulous Preparation, active Collaboration, and powerful Utilization—you turn a complex building process into a controlled, predictable sequence. This 3D exterior rendering service asset, this beautiful digital blueprint, is the single best tool you have to guarantee that your future home or major renovation project is built exactly to your precise vision, providing total peace of mind, assured by technology.