
Preparing a surface before applying paint is a crucial step that directly influences the quality and longevity of the final finish. Whether it is a residential wall, a commercial building, or a delicate piece of furniture, surface preparation demands attention to detail and thoroughness. Paint on an unprepared surface can lead to peeling, cracking, or uneven coverage, compromising aesthetics and durability. Proper preparation involves cleaning, repairing, and priming the surface to ensure paint adheres well and looks smooth. We will explore painters’ essential steps to prepare surfaces, highlighting why each stage matters in achieving a flawless and lasting finish.
Key Steps Painters Follow to Prepare Surfaces for Painting
Cleaning the Surface Thoroughly
The first step painters take when preparing any surface is to clean it completely. Dirt, dust, grease, mold, and old flaking paint can prevent new paint from sticking properly. Depending on the surface material, painters like those at Dino Painting often use detergents or specialized cleaning solutions to remove all contaminants. A power wash may be employed for outdoor surfaces to blast away grime, moss, and loose particles. Indoors, wiping down walls with a mild soap solution is common. This cleaning stage is essential because even a small amount of residue can cause paint to bubble or peel prematurely. Ensuring the surface is clean also helps painters inspect for any damage or irregularities that must be addressed before painting.
Repairing Imperfections and Damages
Once the surface is clean, the next step involves repairing dents, holes, cracks, or other damage. Surfaces with uneven textures will look unsightly once painted and reduce the paint’s adherence. Painters use various fillers and patching compounds, such as spackle or putty, to fill holes or smooth out rough patches. For wood surfaces, they might sand down splinters or replace rotten sections. Repairing the surface carefully ensures that the paint layers will be uniform and prevents future issues like paint peeling or cracking. This step requires patience and precision, as improperly repaired surfaces will show through the final coat.
Sanding for Smoothness and Adhesion
Sanding is a critical step that enhances the surface’s ability to hold paint. By gently sanding, painters remove old, glossy paint finishes and smooth out rough spots. Sanding creates a slightly roughened surface, which allows the new paint to grip better, improving durability and finish quality. The choice of sandpaper grit depends on the surface condition and material. For instance, rough surfaces require coarser grit, while fine sanding is done with finer grit to achieve a silky smooth texture. After sanding, dust is removed thoroughly to avoid imperfections. This step not only improves paint adhesion but also helps in achieving a consistent, even finish.
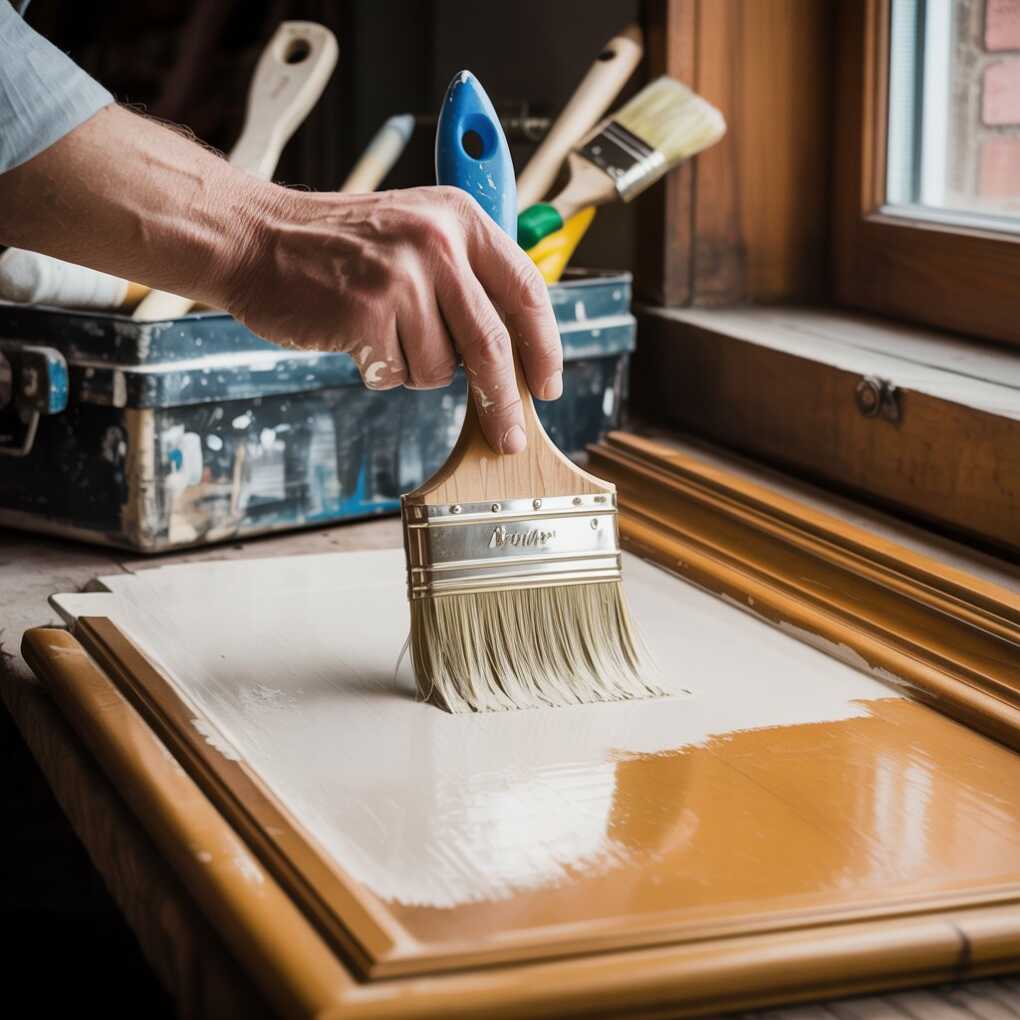
Applying Primer as a Base Layer
Primer plays a vital role in surface preparation. It acts as a bonding agent between the surface and the paint, enhancing adhesion and ensuring the paint performs as intended. Primers are especially important on porous, stained, or unpainted surfaces. They help seal the surface, preventing stains or moisture from bleeding through the paint. Painters select primers suited for the material—wood, drywall, metal, or masonry. Applying primer evenly helps the paint color appear more vibrant and consistent while also extending the paint’s lifespan. Skipping this step or applying primer unevenly can lead to uneven coloring and premature wear.
Masking and Protecting Surrounding Areas
Before the actual painting begins, painters take care to protect areas not meant to be painted. This includes taping edges, covering floors, furniture, fixtures, and any other elements that could be splattered. Masking is about cleanliness and ensuring sharp, clean lines where paint edges meet other surfaces. Painters use painter’s tape, plastic sheets, and drop cloths to shield these areas. Proper masking demonstrates attention to detail and professionalism and helps deliver a neat, polished final appearance. It also minimizes the need for extensive cleanup after painting, saving time and effort.
Final Inspection and Touch-Ups
The last step before applying paint is thoroughly inspecting the prepared surface. Painters examine the surface closely for any missed imperfections, uneven primer coverage, or dust particles that might interfere with the finish. If any flaws are detected, they are corrected immediately by filling, sanding, or additional cleaning. This stage ensures that the surface is flawless and ready for paint application. It may seem tedious, but diligence helps prevent issues during or after painting, such as bubbling, peeling, or uneven texture. This careful final check reinforces the overall quality and appearance of the paint job.
Preparing surfaces thoroughly is fundamental to achieving a flawless paint finish. Each stage, from cleaning and repairing to sanding and priming, serves a distinct purpose in creating an ideal base for paint. Painters approach these steps methodically to ensure the paint looks beautiful and lasts long without damage. Neglecting surface preparation often results in costly repairs or repainting down the line. The attention and care invested in preparing the surface pay off in a smooth, vibrant, and intact finish over time. Whether painting a home interior, an office facade, or a delicate piece of furniture, the preparation process is key to turning the final coat into a work of lasting quality.