
Preparing surfaces thoroughly before applying paint is crucial to ensure durability and a polished finish. The foundation of any successful painting project lies in how well the surface is readied to receive paint, as this step influences not only the appearance but also how long the paint endures. Painting contractors understand that skipping or rushing through preparation can lead to peeling, cracking, or fading, which reduces the lifespan of the paint job. We will explore the key methods and steps contractors use to prep surfaces effectively. These processes help create an ideal environment for paint adhesion, contributing to long-lasting results that maintain their aesthetic appeal over time.
Essential Surface Preparation Steps Used by Painting Contractors
Cleaning the Surface Thoroughly
Before any painting begins, painting contractors in Fort Worth clean the surface to remove dirt, grease, mildew, or loose paint that could interfere with the adhesion of the paint. This often involves washing with water and detergent or using pressure washers for exterior walls. Interior surfaces might require sanding and wiping down with a damp cloth to ensure no dust remains. If mold or mildew is present, contractors apply specific cleaners that eliminate these growths. Proper cleaning not only improves the adhesion of paint but also prevents premature deterioration caused by contaminants trapped beneath the paint. This stage sets the tone for the rest of the project, making it essential to complete it thoroughly and accurately.
Repairing and Patching Damaged Areas
Uneven or damaged surfaces can lead to poor paint results, so contractors inspect for cracks, holes, and other imperfections. They fill gaps and holes using putty, filler, or caulk, smoothing these areas to create an even surface. For larger damages such as dents or gouges, more extensive repairs may be necessary before painting. This step ensures that the finished paint surface appears uniform and smooth, without bumps or depressions that catch the eye. Additionally, patching prevents moisture from seeping into damaged spots, which can otherwise lead to further damage and paint failure.
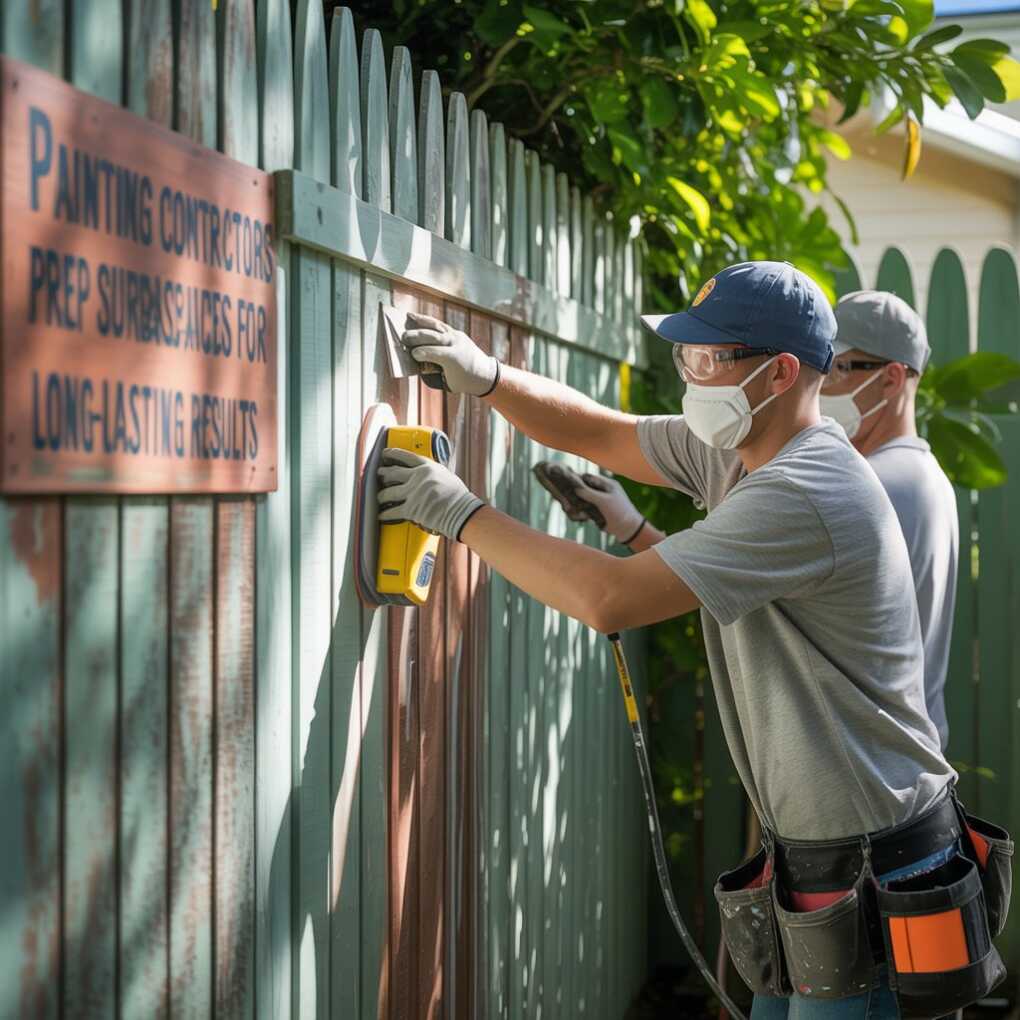
Sanding to Create a Smooth Surface
After cleaning and repairing, sanding is an essential step to prepare the surface. Sanding helps to smooth rough spots, remove old flaky paint, and create a slightly abrasive texture that improves paint adhesion. Contractors select sanding methods and grit levels based on the type of surface and its condition. For example, wood surfaces often require fine sanding to prevent scratching, while metal surfaces may require more aggressive sanding to remove rust and scale. Sanding also helps blend repaired areas with the rest of the surface, producing a seamless canvas for painting.
Priming the Surface
Applying a primer is a critical step that many contractors emphasize to extend the lifespan of the paint. Primer acts as a bonding layer between the surface and the paint, sealing porous materials and blocking stains or tannins from bleeding through. It also provides a uniform base that enhances the true color and finish of the paint. Depending on the surface type—wood, metal, drywall, or masonry—contractors select primers formulated for optimal compatibility. Skipping primer can lead to uneven coverage, peeling, or discoloration over time, so its use is vital for achieving consistent, long-lasting results.
Protecting Surrounding Areas
Surface preparation is not limited to the wall or object being painted; protecting nearby areas is equally important. Contractors carefully mask off windows, trims, floors, and fixtures using painter’s tape and drop cloths. This protection prevents accidental splatters or drips, helping to keep the workspace clean and maintain the project’s overall quality. Proper masking also reduces cleanup time after painting, allowing the contractor to focus on finishing touches that enhance the durability and appearance of the paint.
Ensuring Proper Drying Conditions
Painting contractors pay close attention to environmental conditions before beginning the painting process. Surfaces must be completely dry after cleaning, sanding, and priming, as moisture can trap beneath the paint and cause bubbling or peeling. Contractors may delay painting if humidity is high or temperatures are unsuitable, as these factors affect drying time and paint adhesion. By ensuring surfaces are dry and the environment is conducive, contractors maximize the chances that the paint will cure correctly and maintain its durability.
Addressing Surface-Specific Needs
Different surfaces require tailored preparation methods to achieve optimal results. For example, metal surfaces often need rust removal and application of rust-inhibiting primers. Wood surfaces may require sanding to remove old finishes and sealing knots to prevent stains. Masonry surfaces might need power washing and repairing cracks with mortar before painting. Contractors carefully evaluate the material and condition of each surface, customizing their preparation approach to ensure the paint bonds well and withstands environmental challenges.
Proper surface preparation is the backbone of any lasting paint job. Painting contractors invest time and attention into cleaning, repairing, sanding, priming, and protecting surfaces to ensure the paint adheres properly and maintains its appearance for years to come. By understanding and applying these essential steps, the durability and quality of the paint finish are significantly enhanced, preventing common issues such as peeling, cracking, and fading.