Epoxy resin is one of the most rewarding materials to work with—smooth, self-levelling, glossy, and capable of creating everything from jewellery to river tables. But there’s one thing every resin artist, woodworker, and DIYer learns quickly:

Wasting resin is expensive.
Even small miscalculations can leave you with too much product mixed, too little for your pour, or a ruined project due to an incorrect ratio.
The good news? Accurate resin measurement is easy once you understand a few simple principles—and use the right tools. This guide walks you through exactly how to avoid wasting epoxy and achieve perfect pours every time.
Why Measuring Epoxy Resin Accurately Matters
Whether you’re coating a table or filling small moulds:
- Too much resin = wasted money
- Too little resin = visible lines, weak bonding, and uneven surfaces
- Incorrect ratios = sticky, soft, or never-curing resin
Epoxy isn’t a material you can “wing.” Unlike paint or plaster, resin is a chemical reaction. It needs precise amounts of resin + hardener to cure properly.
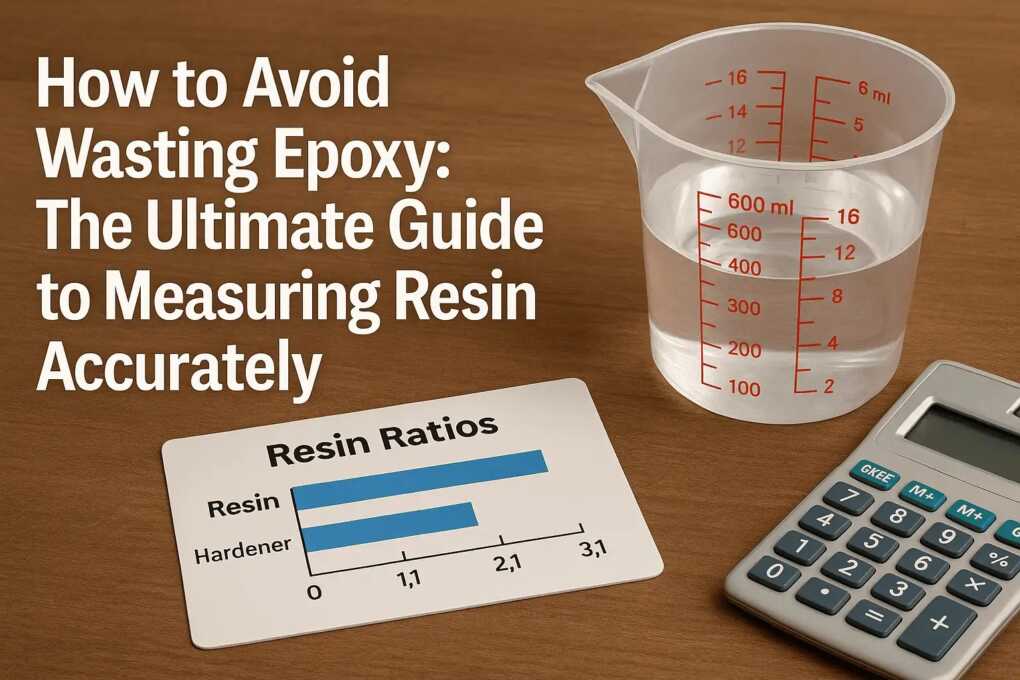
Understanding Resin Ratios: 1:1, 2:1 & 3:1 Explained
Every epoxy product has a required mix ratio such as:
- 1:1 (equal parts resin and hardener)
- 2:1 (double the resin to hardener)
- 3:1 (three parts resin, one part hardener)
Get this wrong and your resin may:
- remain sticky
- cure soft
- form waves or bubbles
- yellow prematurely
How to Calculate the Exact Amount of Resin You Need
The amount of resin you need depends on the surface area and depth of your project.
Below are simple formulas for different project types:
Epoxy Coasters
- Depth: 3mm
- Formula: Area × Depth
- Typical amount: 30–50ml per coaster
Canvas Art
- Depth: 1.5mm
- Formula: Length × Width × Depth
- Typical amount: 1.5–2ml per cm²
River Tables
- Depth: 30–50mm
- Formula: Length × Width × Depth
- Typical amount: 300–500ml per 10cm of length (depending on width)
Use a Resin Calculator to Eliminate Guesswork
A resin calculator takes your measurements and instantly tells you:
- total resin required
- resin vs hardener amounts
- recommended batch size
- volume adjustments for deep pores
This drastically reduces waste and ensures consistent, reliable results.
Common Measurement Mistakes (and How to Avoid Them)
Mixing Too Much “Just in Case”
This is the number one cause of waste.
Fix: Measure your project first before mixing.
Incorrect Depth Estimation
Resin looks shallow until you pour it—then it suddenly disappears.
Fix: Always calculate depth using a ruler or depth gauge.
Misreading Mixing Cups
Graduated cups appear clear, so measurements can be inaccurate.
Fix: Use contrasting background colours or digital scales.
Not Sealing Wood
Raw timber absorbs resin like a sponge.
Fix: Pre-seal with a thin coat before your final pour.
Step-by-Step: How to Measure Resin Perfectly Every Time
1. Measure your project dimensions.
2. Calculate volume (L × W × D).
3. Enter measurements into a resin calculator.
4. Measure resin and hardener in separate cups.
5. Mix carefully and slowly.
6. Pour smoothly.
Advanced Tips for Zero-Waste Resin Projects
- Warm your resin to improve flow.
- Use micro-batches for detailed artwork.
- Keep extra moulds handy for leftovers.
- Use a digital scale for added precision.
Essential Tools for Accurate Resin Measuring
- Digital scale
- Graduated cups
- Depth gauge
- Laser measurer
- Syringes for small pours
- Heat gun or torch
- Spreader or notched trowel
- Notebook for measuring logs
Conclusion: Accuracy Saves Money and Improves Results
If you want your resin projects to be clearer, stronger, and more professional, start with better measurement habits.
Accurate resin calculation:
- saves money
- prevents waste
- improves curing
- produces flawless finishes
- reduces frustration
- boosts confidence
Before every project, take a moment to measure correctly and use a reliable resin calculator. Your pours will be cleaner—and your wallet will thank you.
