
Why Your Outdoor Wires Are Screaming for a Makeover (Aesthetic & Safety)
You step outside on a perfect summer evening. The grill’s fired up. Friends are laughing. Then your eye catches it—those messy extension cords snaking across your patio like electrical spaghetti. Suddenly the vibe’s ruined.
Outdoor wiring doesn’t have to look like a crime scene. It’s not just about looks either. Those exposed wires? They’re tripping hazards waiting to happen. Kids running around. Elderly parents visiting. Your dog chasing a squirrel. One wrong step and down they go.
Jim Stucchi—landscape design expert with over 25 years experience—puts it bluntly: “There’s nothing like clumps of wiring and pools of open cables to completely tank the otherwise beautiful design of an outdoor space.” He’s right. And it’s not just about aesthetics.
Why this matters more than you think (click to expand)
Exposed wires degrade faster from UV rays and weather. They’re vulnerable to critters gnawing through them. Makes your home look poorly maintained. Can actually lower property value according to housing studies. Safety risks multiply during rain or snow.
Safety first. Always. Not next week. Not when you “get around to it.” Today.
You’d be shocked how many DIY electrical accidents happen because someone thought “it’s just temporary.” Spoiler: Temporary setups rarely stay that way. And they become permanent hazards.
The Dangerous Game You’re Playing with Exposed Extension Cords
Ever wonder why your outdoor extension cord feels warm after running the string lights for a few hours? That’s your warning sign. Overloaded circuits don’t announce themselves politely. They just fail. Catastrophically.
Most homeowners don’t realize outdoor extension cords need special ratings. That cheap indoor cord you dragged outside? Recipe for disaster. Look for that “W” on the label. Means it’s rated for outdoor use. No “W”? Toss it. Seriously.
Load Capacity Matters More Than You Think
You can’t just plug anything into an extension cord. Physics doesn’t care about your holiday plans. Here’s the math most people ignore:
$$\text{Maximum Load} = \text{Cord Rating} \times 0.8$$
That 15-amp cord? Max safe continuous load is 12 amps. Period. Try powering multiple strands of incandescent Christmas lights and boom—you’ve crossed the line.
| Cord Gauge | Max Amp Rating | Safe Continuous Load (80%) | Typical Outdoor Use |
|---|---|---|---|
| 16 AWG | 10A | 8A | Short runs, LED lights only |
| 14 AWG | 15A | 12A | Medium runs, small appliances |
| 12 AWG | 20A | 16A | Longer runs, multiple light strands |
| 10 AWG | 30A | 24A | Heavy duty, multiple outlets |
Water and electricity—bad combo. You know this. Yet people still use indoor-rated cords outside. Makes no sense. Outdoor cords have thicker insulation. Extra weatherproofing. Don’t skip this step.
GFCI outlets: Your last line of defence
Ground Fault Circuit Interrupters cut power in 1/40th of a second when they sense an imbalance. Mandatory for outdoor use. Test them monthly. That little “test” button exists for a reason. No GFCI? Stop what you’re doing and install one. Or call an electrician. Worth every penny.
One homeowner thought, “It’s just for the party.” Three hours in, the rain starts. Water finds the gap in that cheap cord connector. ZAP. Lights out. BBQ ruined. And $1,200 later, fixing the damaged circuit.
Don’t be that person.
7 Genius Ways to Hide Those Ugly Outdoor Wires (That Actually Work)
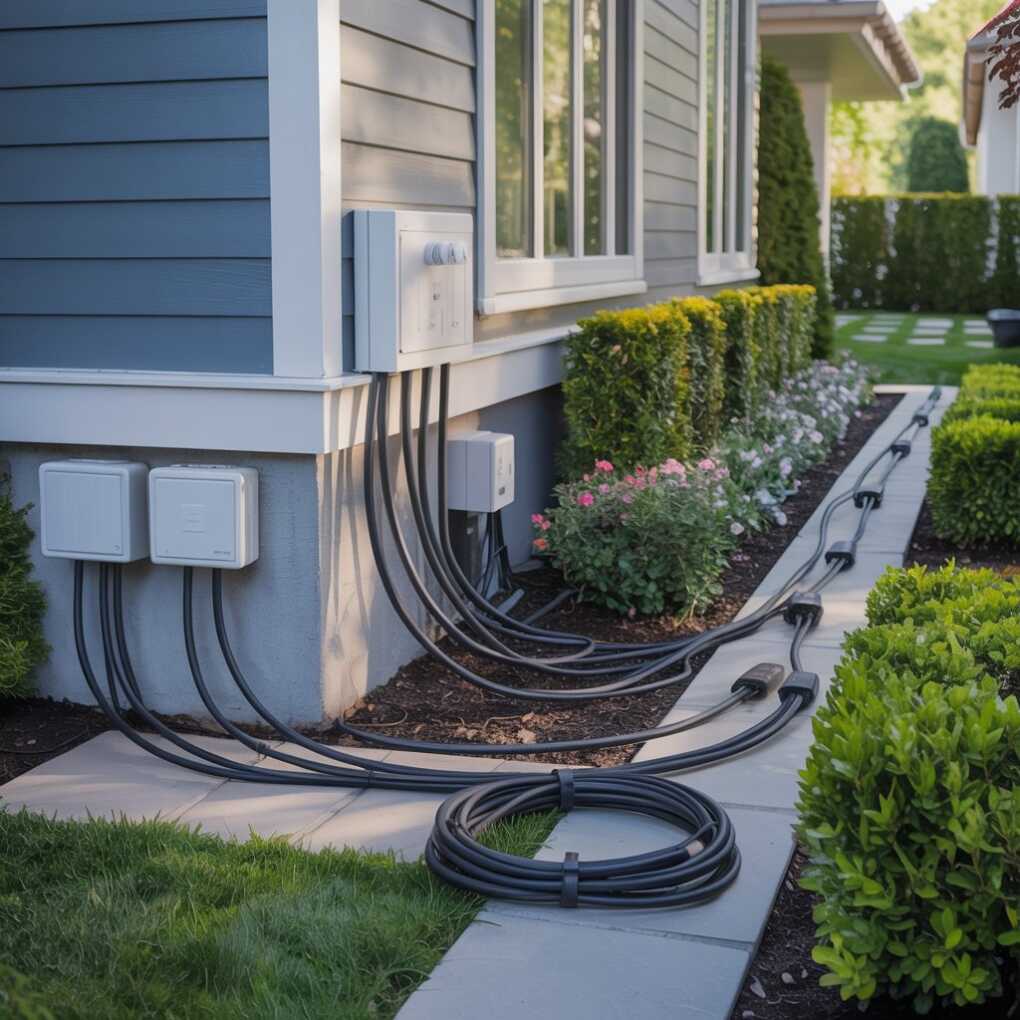
Bury Wires the Right Way (Not Just Any Old Trench)
Burying outdoor wiring looks clean. Professional. Permanent. But do it wrong and you’ll be digging it up again in six months. Maybe while trying to edge your lawn.
Six inches deep. Minimum. Along your home’s foundation. Under mulch beds if possible. Landscape lighting experts swear by this technique. Jim Stucchi of Stucchi Landscape & Design explains: “Landscape lighting systems are low voltage, which makes the wires ‘direct burial’ capable.”
But here’s what nobody tells you: Never bury wires where you’ll be digging annually. Flower beds? Bad idea. Mulch zones you refresh every spring? Terrible idea. Stick to foundation lines or under established landscape fabric.
Pro tip: Lay a strip of bright garden fabric above buried wires. Future you will thank present you when digging near them later. Saves callling 811 every time you plant tomatoes.
Paint-Matching Magic for Visible Wires
Sometimes wires must stay above ground. That’s fine. Make them disappear in plain sight. Paint the cords to match your house trim. Sounds weird but works shockingly well.
Use exterior-grade paint. Matte finish. Dark brown for cedar siding. Light gray for stone veneer. Test first on a hidden section. Some cord materials repel paint. Rough them up with fine sandpaper first.
Color matching cheat sheet
White cords on white siding: Use flat exterior paint in “Decorator’s White.”
Black cords on dark trim: Flat black spray paint works wonders.
Green cords in garden beds: Olive drab exterior paint blends perfectly.
Most people skip this step. Big mistake. Takes 20 minutes. Makes wires virtually invisible. Worth it every time.
Cord Channels: Your Invisible Highway
Those plastic cord covers everyone hates? They’re everywhere for a reason. They work. But install them right or they look worse than the wires they’re hiding.
Choose colors carefully. Gray blends with concrete. Brown matches soil. Black disappears against dark surfaces. Run them along baseboards. Under deck edges. Behind planters.
Pro tip:
Don't run cord channels diagonally across open spaces.
They'll draw attention.
Stick to existing lines in your architecture.
Base of walls.
Edge of patios.
Natural boundaries.
Foliage Camouflage That Isn’t Cheesy
Plants can hide wires naturally. But do it right. Don’t just toss some ivy on a cable and call it good. Strategic planting makes the difference between “discreet” and “amateur hour.”
Andy Wu of Backyard Oasis recommends: “Creeping thyme, ornamental grasses, or hostas get the job done.” These grow predictably. Won’t overwhelm wires. Stay contained.
Plant hostas near foundation wiring. Use creeping thyme along pathways with buried wires. Ornamental grasses work great near patio lighting circuits.
Leave access points though. You’ll need to check connections eventually. Smart planting means planning for maintenance too.
Deck Rail Wiring: The Hidden Superhighway
Deck lighting looks amazing. When wires are hidden properly. Most people fail at this step. Don’t be most people.
Route channels into your top rail. Drill down through posts. Store connections inside post cavities. It’s cleaner. Safer. Looks professional.
Here’s how the pros do it:
- Route channel into top rail
- Drill hole down post interior
- Feed wires through rail channel to next post
- Store connections inside post
- Cap with matching wood plug
DecksDirect sells special Wire Concealing Wood Trim for this exact purpose. Worth the investment if you want it done right.
Conduit Options: Choosing Your Armor
Exposed wires need protection. That’s where conduit comes in. But not all conduit is equal. Choose wrong and it sticks out like a sore thumb.
| Conduit Type | Best For | Pros | Cons |
|---|---|---|---|
| Flexible PVC | Temporary runs | Bends easily, cheap | UV degrades over time |
| Rigid PVC | Permanent installs | Weatherproof, durable | Harder to install |
| Liquidtight | Wet locations | Fully sealed | Expensive |
| Metal EMT | High visibility areas | Blends with architecture | Can corrode |
Run conduit along house lines. Match it to your home’s style. Rigid PVC looks best against modern homes. Metal conduit works with traditional styles.
Soffit Routing: The Professional Secret
Soffits hide wiring beautifully. Most homeowners never think to look up there. That’s the point.
Access your soffit from the attic side if possible. Feed wires through soffit vents. Out through fascia boards. Concealed yet accessible.
Here’s what contractors won’t tell you: Use fish tape to pull wires through soffit cavities. Works like a charm. Much easier than guessing blindly.
Step-by-step soffit routing
1. Locate starting point inside attic
2. Feed fish tape toward desired exit point
3. Attach wire to fish tape end
4. Pull back through soffit cavity
5. Exit through discreet fascia hole
6. Seal entry/exit points with exterior caulk
Never staple wires to soffits. Looks amateur. Damages wires over time. Causes failures. Professionals use specialized clips. More on that later…
Christmas Light Installers’ Best Kept Secret: Discreet Wire Routing
Ever wonder how the pros hang Christmas lights without making your house look like a tangled electrical disaster? It’s not magic. It’s method.
Professional lighting crews don’t staple. Ever. Staples damage wires. Create weak points. Look terrible up close. Instead they use special gutter clips. Fascia clips. Designed specifically for clean installations.
These clips snap into place. Hold wires snug against surfaces. Completely hidden from street view. The difference is night and day compared to DIY jobs.
Let’s talk about gutter routing. Pros feed wires behind hangers. Under drip edges. Never across the front where everyone sees them. Creates that “how did they do that?” effect.
One trick they use: Run main lines along the back slope of your roof. Down through downspouts. Out near base. Makes connections invisible from ground level. Genius and simple.
Professional Installation Quality=Clip Placement×Wire Concealment
You’d be shocked what proper Christmas light installers can hide in plain sight. But finding good ones matters. Especially if you want it done right without damaging your gutters or fascia.
If you’re in the Chicago suburbs and want lights installed properly—no visible wires, no staples, no damage to your home—check out Naperville IL christmas light installers near me. They’ve mastered this technique across hundreds of homes. Perfect example of what professional wire concealment should look like.
Most Christmas installers focus on the lights. The pros focus on hiding the wires. Big difference. The best installations? You see the lights. Not how they got there.
What separates pro Christmas installations from DIY disasters
Pros use gutter clips every 12-18 inches.
Wires run behind hangers and brackets.
No staples anywhere on the property.
Connections hidden inside junction boxes.
All cords color-matched to house trim.
Remember that neighbor whose Christmas lights look amazing every year? The ones that make you wonder “how did they do that without visible wires?” They didn’t get lucky. They hired professionals who understand discreet wire routing.
Your Turn to Tame Those Tangled Cords
Time to admit it. Those exposed wires aren’t going to hide themselves. But now you’ve got the tools to fix it. Properly. Safely. Without looking like a DIY disaster.
Start small. Pick one area. Your patio. Your deck. That ugly cord running to your outdoor outlet. Apply one technique from this guide. See the difference it makes.
Wire concealment isn’t about perfection. It’s about progress. Every hidden cord improves your home’s look. And safety. Makes your outdoor space actually enjoyable.
Go grab that cord channel kit. Or some exterior paint. Or call a pro if it’s beyond your skill level. Your future self will thank you when you’re relaxing outside without tripping over electrical spaghetti.
Remember: A clean exterior isn’t an accident. It’s a choice. Make yours today.
Pro tip:
Take before-and-after photos.
You'll be shocked at the difference.
Also helps when showing neighbors how it's done right.
Everyone wants that clean look—show them how.