
It’s one of the worst ways to start your day. You step into the shower, turn the handle, and are hit with a blast of icy-cold water. It’s a “heck” moment that sends a jolt of panic through you, and it’s not just from the cold.
Your mind immediately starts to race. Is this a simple fix, or is my water heater dead? Is this a $10 problem or a $2,000 replacement?
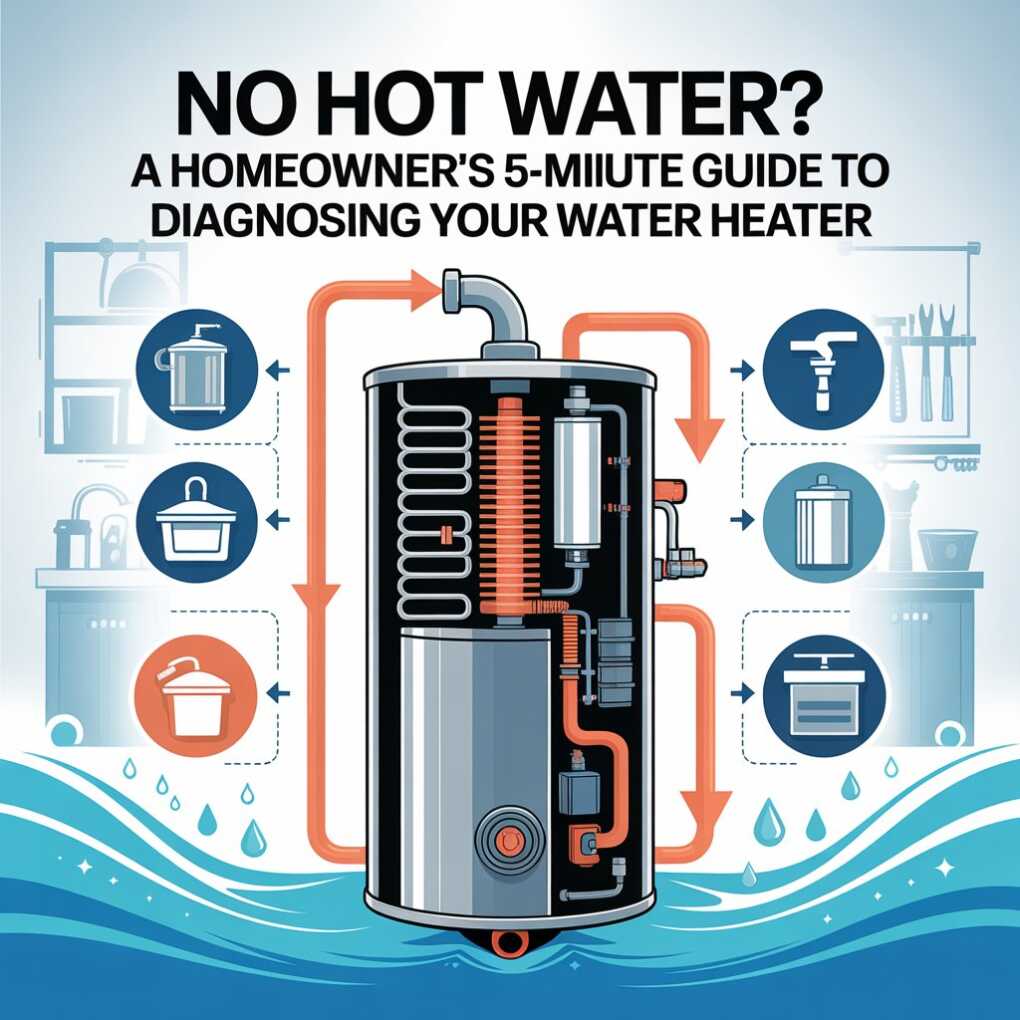
For most of us, the water heater is a mysterious metal tank in the basement or a closet. We ignore it until it fails. But before you panic, you can often figure out the problem yourself in about five minutes. This guide will walk you through the most common reasons your traditional tank water heater has stopped working and, more importantly, help you decide if it’s a simple DIY fix or time to call a pro.
Step 1: Identify Your Weapon (Gas vs. Electric)
First, you need to know what kind of water heater you have. The troubleshooting steps are completely different.
- How to spot a GAS heater: Look at the top. You’ll see a metal vent pipe (like a chimney) that carries exhaust fumes outside. You will also see a gas line running to a control box near the bottom of the tank.
- How to spot an ELECTRIC heater: Look for a thick, heavy-duty electrical cable running from the wall directly into the side of the unit. You will not see a vent pipe on top. You will also see one or two (usually gray) access panels on the side of the tank.
Got it? Good. Let’s dig in.
If You Have a GAS Water Heater…
The vast majority of “no hot water” problems with gas heaters come down to one simple thing.
Problem 1: The Pilot Light is Out
The pilot light is a small, constant flame inside the heater that ignites the main burner whenever the water needs to be heated. If that flame goes out, you get no heat.
The 5-Minute DIY Fix: This is the most common and easiest fix. Don’t be intimidated; the instructions are printed right there on the tank for a reason.
- Find the Control Box: Go to the gas control knob at the bottom of the tank. You should see settings like “ON,” “OFF,” and “PILOT.”
- Look for the Flame: Look through the small glass portal or open the small metal cover at the very bottom. Do you see a small blue flame? If yes, the pilot isn’t your problem. Skip ahead.
- Follow the Instructions: If you don’t see a flame, turn the knob to the “PILOT” position.
- Press and Hold: Press and hold down the control knob or a separate red button (this manually sends gas to the pilot).
- Ignite: While still holding the knob down, press the “igniter” button, which is usually a red or black button that makes a “click” sound. You may need to press it several times while looking through the portal.
- Keep Holding: When you see the flame light, keep holding the knob down for a full 30-60 seconds. This heats up a safety sensor called a thermocouple.
- Release and Set: Slowly release the knob. If the flame stays lit, you’ve done it! Turn the knob back to the “ON” or your desired temperature setting. You should hear a “whoosh” as the main burner ignites.
The Caveat: If the pilot light won’t stay lit after you release the knob, it’s a sign your thermocouple has failed. This is a common, inexpensive part to replace, but it’s a more involved (level 2) DIY job.
If You Have an ELECTRIC Water Heater…
With no flame, your troubleshooting starts at the electrical panel.
Problem 2: The Circuit Breaker is Tripped
Electric water heaters use a lot of power, so they are almost always on their own dedicated, high-amperage breaker.
The 5-Minute DIY Fix:
- Go to Your Breaker Box: Find your home’s main electrical panel.
- Find the Breaker: Look for the breaker labeled “Water Heater,” “Hot Water,” or “WH.” It’s likely a “double-pole” breaker, which means it’s twice as wide as a normal one.
- Check its Position: Is the breaker in the “OFF” or middle (tripped) position? If so, this is likely your problem.
- Reset It: To reset a tripped breaker, you must first push it firmly to the “OFF” position, and then flip it back to the “ON” position.
- Wait: An electric heater doesn’t make hot water instantly. Go grab a coffee and wait 30-60 minutes. Then, go test the tap. If you have hot water, you’re a home-fix hero.
The Caveat: If the breaker trips again immediately or later that day, do not keep resetting it. This signals a persistent electrical problem (like a short circuit) and is a serious fire risk. This is when you stop DIY-ing and move to the next step.
When the Simple Fixes Don’t Work
If the pilot is lit, or the breaker is on, and you still have no hot water, the problem is inside the unit. This is where we almost always pivot from a DIY fix to a “call a pro” diagnosis.
Your problem is likely one of these:
Problem 3: A Faulty Thermostat (or High-Limit Switch)
The thermostat is the “brain” that senses the water temperature and tells the heater to turn on. Electric heaters have two of them (upper and lower). The upper one also has a red “high-limit” reset button. While you could (after shutting off the power at the breaker!) remove the access panel and press this button, it’s usually a sign of a deeper issue. Testing and replacing thermostats involves using a multimeter on high-voltage components, which is not a job for a beginner.
Problem 4: A Failed Heating Element (Electric)
This is the most common culprit in an electric heater that trips its breaker. The heating element is the “guts” that actually heats the water, just like in an electric kettle. Over time, these can corrode, short out, or simply burn out.
If you get lukewarm water (but not cold), it often means your upper element is working but the lower one is dead. If you get no hot water at all, the upper element is likely gone.
Testing and replacing a heating element involves shutting off the power, draining the entire 40- or 50-gallon hot water tank, and then working with high-voltage wiring and waterproof seals. A small mistake can lead to a major leak or a dangerous electrical fault. This is where you stop being a DIY hero and start being a smart homeowner by calling a professional. A quick search for a water heater repair near me will connect you with a certified technician who can safely test and replace these components for you.
Problem 5: A Broken Dip Tube (Gas or Electric)
This is the sneakiest problem of all. A “dip tube” is a simple plastic pipe inside your tank that forces cold incoming water to the bottom (where the heat is). When this tube breaks or dissolves, the cold water just dumps in at the top of the tank. It immediately mixes with the hot water and flows right out to your shower, giving you a 30-second blast of hot water that immediately turns lukewarm. This is a complex fix that requires disconnecting plumbing lines to access the inside of the tank.
Conclusion: Know Your Limits, Be a Smart Homeowner
Being a savvy, hands-on homeowner doesn’t just mean knowing what you can fix. It means knowing what you shouldn’t.
Resetting a breaker or re-lighting a pilot light is a fantastic 5-minute win. But when you’re facing a problem that requires working with 240-volt electricity or diagnosing gas-line components, the smartest “heck home” move is to make an informed call. You’ve successfully diagnosed the issue beyond a simple reset, and now you can confidently tell a professional exactly what’s happening. That’s a home-improvement win, any day of the week.