
When it comes to installing a new roof, many homeowners are surprised by how structured and methodical the process truly is. A new roof isn’t just a matter of nailing down shingles—it’s a layered system designed to protect the entire home from moisture, heat, and structural wear. Roofing contractors follow a detailed plan to ensure long-lasting durability, correct installation, and a clean finish. It requires coordination, attention to detail, and proper planning from start to finish. We will explore the full sequence from initial inspection to final cleanup, offering insight into what happens when a new roof is being installed. By understanding this process, homeowners can feel more confident in the work being done above their heads and communicate more clearly with the on-site team.
The Core Stages of Installing a New Roof
Inspection and Planning
Before anything is torn down or nailed in place, the process begins with a thorough inspection and planning session. A Sydney roofing contractor assesses the condition of the current roof, identifies areas of damage, and considers the structural integrity of the underlying deck. This step isn’t just for spotting leaks—it also helps determine whether the existing roofing materials can be covered or if a complete tear-off is necessary. The contractor discusses roofing materials with the homeowner, taking into account the budget, climate, and the home’s design. This planning stage is also when permits are obtained, insurance details are finalized, and a timeline is established. Without this foundation, the rest of the project would be riddled with setbacks. Every good roof starts with careful eyes and a well-thought-out blueprint.
Removing the Old Roofing Materials
Once the inspection and planning phase is complete, the crew begins tearing off the old roofing material. Whether it’s asphalt shingles, tile, or metal, everything must be removed to reach the decking beneath. This phase can be messy, loud, and labor-intensive. Contractors use tools like roofing shovels, pitchforks, and hammers to strip away layers of roofing while protecting the property below. Tarps are laid out over landscaping and siding to catch debris and avoid damage. All removed material is either disposed of in a dumpster or collected for recycling. Most roofing companies work with a dumpster rental provider to help ensure proper cleanup is done. This part must be done with care—ripping things out too aggressively can damage the underlying deck, while going too slowly can delay the entire job. Once the old material is completely removed, a second inspection is conducted to ensure the deck is structurally sound and ready for the next step.
Repairing and Preparing the Roof Deck
Now that the surface is exposed, the roofing crew focuses on preparing the deck. If there are any signs of rot, mold, or water damage, the affected portions are cut out and replaced with new wood. Even minor soft spots are addressed to make sure the new roof has a solid base to rest on. Contractors will also check for popped nails or loose sheathing that could cause problems later. Once repairs are complete, an underlayment—often a synthetic or felt barrier—is rolled across the entire deck. This underlayment serves as a water-resistant shield, protecting against wind-driven rain and ice dams. Some roofs in colder climates may also receive an ice and water barrier at the eaves and valleys. Flashing and drip edges are then installed along the edges of the roof to direct water away from the home’s foundation. With this prep work in place, the surface is now ready for the new roofing material.
Installing the New Roofing Material
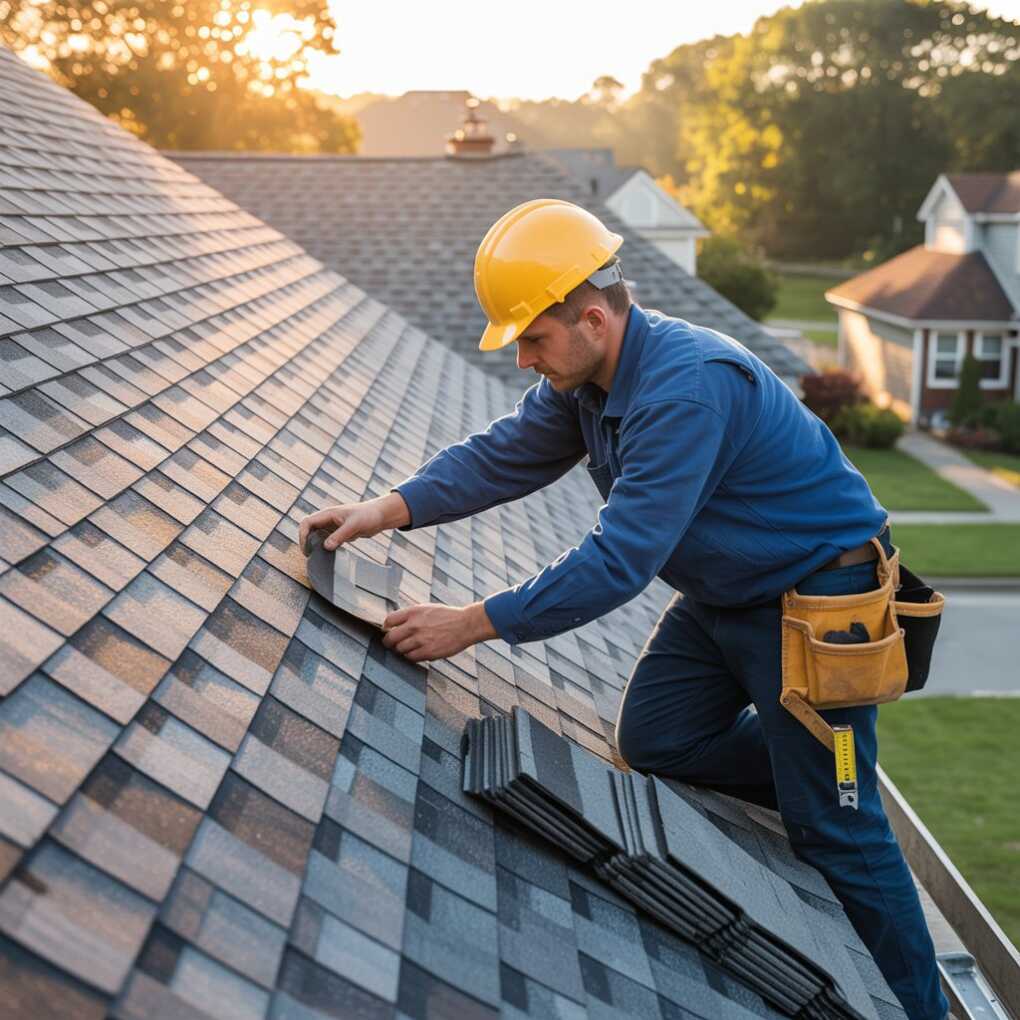
This is the step most people picture when they think of roofing—laying down shingles, tiles, or panels. Contractors begin from the bottom edge of the roof and work their way up, overlapping each row to ensure water flows off the roof and not into it. If asphalt shingles are used, starter shingles are placed at the eaves before the rest are nailed into place. For metal roofs, interlocking panels are fastened using screws with rubber washers for sealing. Ventilation systems are installed at this stage, often with ridge vents or box vents to ensure proper airflow through the attic. Flashing is also applied around chimneys, skylights, and plumbing vents to create a waterproof seal. The crew uses chalk lines and guides to maintain straight and consistent rows. This phase requires careful alignment and consistency; otherwise, the roof could end up uneven or aesthetically flawed. By the end of this step, the roof begins to take its finished shape.
Conclusion
A new roof isn’t something that gets slapped on in an afternoon—it’s a carefully planned and executed project that protects one of your most important investments: your home. From the first inspection to the final cleanup, roofing contractors follow a clear sequence of steps to ensure the job is done safely, efficiently, and correctly. Each phase builds on the last, creating a system that not only looks good but performs well for decades. Whether you’re preparing for a roof replacement or just curious about the process, knowing these steps can turn confusion into clarity and stress into assurance.