
You’re standing in your kitchen. Dinner’s late. The kids are hungry. You hit “bake” on your electric range… and nothing happens. Frustrating right? Crickets. No heat. Nada. Your electric range is dead as a doornail. Don’t panic yet—we’ve all been there. First thing’s first: check if it’s plugged in properly. Surprisingly common fix. Still nothing? Time to dig deeper. Most problems are fixable without calling a pro. Well… unless you’re dealing with serious electrical issues. In that case, maybe consider Professional Range Repair before risking electrocution. Safety first folks. Always.
Power Supply Problems: The Silent Killer
Oh, the irony. Your range looks plugged in but isn’t getting proper juice. Electric ranges need full 240 volts to function. Anything less and you’ll get cold oven syndrome. Seen this dozens of times. The display might work but no heat. Classic symptom. Could be a tripped circuit breaker. Check your electrical panel—those double-pole breakers love to trip mid-roast.
Here’s the scary part: sometimes it’s not just a simple reset. Wiring could be faulty. Or worse—your outlet might be failing. Use a multimeter to check voltage at the plug. Should read 220-240V between the two hot wires. Lower than that? Problem’s in your house wiring. Not fun. But way better to catch it now before your kitchen becomes a fire hazard.
Pro Tip: If your breaker trips immediately after resetting, DO NOT keep resetting it. This indicates a serious short circuit. Call a professional immediately. Seriously. Don't be that person who burns their house down trying to save $100 on a repairman.Most homeowners don’t realize ranges need dedicated circuits. Your microwave and range on same circuit? Recipe for disaster. Check this table showing proper circuit requirements:
| Appliance Type | Required Circuit | Amperage | Wire Gauge |
|---|---|---|---|
| Standard Electric Range | Dedicated Double-Pole | 40-50A | 6-8 AWG |
| Compact Electric Range | Dedicated Double-Pole | 30-40A | 8-10 AWG |
| Wall Oven | Dedicated Double-Pole | 30-40A | 8-10 AWG |
“Most range heating issues I see start with power problems. People assume it’s the appliance when really—it’s their home’s electrical system can’t handle modern appliances.” – Electrical contractor with 20 years experience quoted in searshomeservices.com
Blown Fuses and Thermal Cutoffs
Fuses blow for a reason. Not just randomly. They’re protecting your range from damage. When a fuse blows in your range, it’s usually screaming “HEY SOMETHING’S WRONG HERE!” Ignoring that scream? Bad idea. Replacing the fuse without fixing the root cause? Worse idea. Seen too many DIYers do this. Then wonder why their kitchen smells like burnt plastic.
These thermal fuses hide in sneaky places. Behind control panels. Under cooktops. Sometimes even behind wall ovens. Annoying but necessary. Finding them requires patience. And flashlight. Always a flashlight. Pro move: take pictures as you disassemble. Saves headaches during reassembly.
How to check a thermal fuse:
- Unplug that beast! Seriously!
- Locate the fuse—usually near oven cavity or control panel
- Remove wires carefully (label them!)
- Set multimeter to continuity mode
- Touch probes to fuse terminals
- No beep? Fuse is dead. Time for replacement
Important: Always replace with exact same rating fuse. Not close. Not “good enough.” Exact. Different amperage could be dangerous. Thermal fuses aren’t expensive—maybe 10−20. But using wrong one? Could mean fire.
Broken Heating Elements: The Usual Suspect
Ah yes. The baking element. That coiled wire at oven bottom. Looks innocent but causes 30% of heating issues according to appliancepartspros.com. Visible damage? Game over. Replace it. But sometimes it’s not obvious. Element might look fine but be dead inside.
Here’s what most people miss: elements don’t just die randomly. They wear out gradually. Takes longer to preheat. Hot spots develop. Food cooks unevenly. These are warning signs. Pay attention to them next time.
Testing your bake element:1. Disconnect power COMPLETELY2. Remove back panel (usually simple screws)3. Locate element wires at back4. Disconnect wires carefully—take photos first!5. Set multimeter to ohms6. Touch probes to element terminals7. Should read 10-50 ohms resistance8. Infinite resistance? Element's deadBroil elements fail too—just less often. They’re up top and work harder. High heat = shorter lifespan. Same testing procedure applies. Funny how people always check bake element but forget about broil. Especially when broiling stops working but baking still does. Makes perfect sense once you know how separate they are.
| Element Type | Expected Lifespan | Common Failure Signs | Replacement Cost |
|---|---|---|---|
| Bake Element | 5-7 years | Cold spots, long preheat | 25−75 |
| Broil Element | 4-6 years | Weak broiling, uneven browning | 30−80 |
| Surface Burner | 3-5 years | Intermittent heating, cycling | 15−50 |
Temperature Sensor Malfunctions
That skinny probe in back of oven cavity? That’s your temperature sensor. Tiny guy. Big job. Sends temp data to control board. If it’s faulty? Oven thinks it’s hotter than it is. Won’t heat properly. Or heats way too much. Both bad.
Most sensors fail gradually. Oven takes forever to preheat. Then suddenly jumps 50°F past set temp. Annoying when baking delicate soufflés. Sensor problems mimic element issues—makes diagnosis tricky. This is where multimeter testing becomes essential.
“Temperature sensors cause more undiagnosed oven problems than people realize. They test okay at room temp but fail under heat. Always test sensors hot AND cold.” – Repair technician quoted in fix.com
Pro Tip: Bending sensor slightly can sometimes fix contact issues. But don't overdo it! Just a tiny nudge—about 5-10 degrees from vertical position. Too much bending damages it permanently. Seen this save many elements from unnecessary replacement.Testing procedure seems simple but has pitfalls:
- Locate sensor—usually back wall near top
- Unplug range (critical safety step!)
- Disconnect sensor wires
- Measure resistance at room temp (should be ~1100 ohms)
- Heat oven to 200°F and retest (should drop to ~800 ohms)
- No change? Sensor’s dead
Warning: Cheap aftermarket sensors often fail within months. Spend extra on OEM parts. Worth every penny.
Control Board and Electronic Issues
Here’s where things get scary for DIYers. The brain of your range. Electronic control boards fail in weird ways. Oven heats randomly. Display goes haywire. Sometimes works when you tap the panel (which means corrosion or loose connection). Not fun to diagnose.
Most control board issues stem from moisture or heat damage. Steam from cooking creeping in. Spills leaking down control panel. Power surges frying delicate circuits. Sadly no easy fix here. Board either works or it doesn’t. Testing requires advanced electronics knowledge.
For tech-savvy readers only—this gets complicated:
- First check all fuses near control board
- Test incoming voltage to board (should be 120VAC)
- Check relay outputs when oven should be heating
- Inspect board for visible damage (burnt spots, bulging caps)
- Test individual components if skilled with electronics
Most home cooks shouldn’t attempt this. Risk of electrocution is real. If you’re unsure—stop. Call for Professional Range Repair. Better safe than sorry.
Interesting fact: many control boards fail because of failing touch panels. Those fancy glass fronts collect moisture over time. Then—bam—circuitry shorts. Simple fix? Sometimes just replacing touch panel saves replacing whole board. 150versus400 parts cost difference. Always check this first.
Infinite Switch Problems (For Older Models)
Older ranges use infinite switches instead of digital controls. Those rotary knobs? They contain switches that regulate heat. Fail silently often. Burner seems dead but actually switch is bad. Diagnosing requires careful testing.
Here’s what happens: switch contacts wear out from years of use. Arcing damages contact points. Eventually connection fails completely. But sometimes it’s intermittent. Drives owners crazy! Burner works sometimes. Not others. Maddening.
Testing infinite switches:
- Disconnect power—safety first always
- Remove knob and access switch
- Disconnect wires (label carefully!)
- Set multimeter to continuity
- Turn knob through positions while testing
- Should show continuity in ON positions
- No continuity? Switch needs replacing
Good news: replacement switches are cheap. 10−20 usually. Bad news: installing them can be tricky. Wiring diagrams confusing. Pro advice: take picture before disconnecting anything. Seriously saves headaches later.
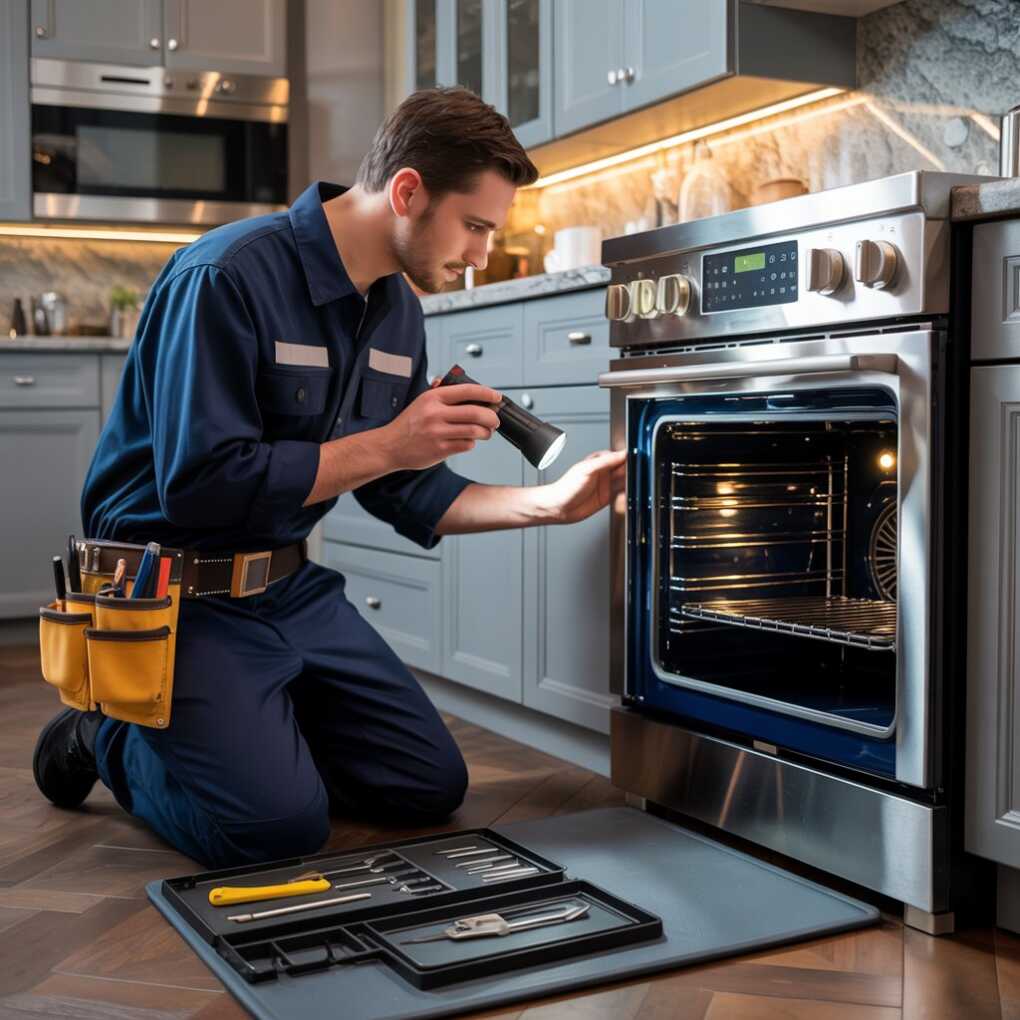
When to Call the Professionals
Look. Some problems you can fix. Others need trained eyes. Honest truth? If you’re uncomfortable with any electrical work—call a pro. Seriously. Your life’s worth more than $100 repair bill. Especially with 240V circuits involved. One wrong move and—poof. No more you.
Gas ranges add another level of danger. Messing with gas lines without proper training? Just no. Not worth it. Ever. Even experienced electricians avoid gas components. Different skillset entirely.
“Nearly 40% of DIY oven repair attempts result in secondary damage or safety hazards according to industry surveys.” – Repair industry report referenced in angi.com
Signs you absolutely need professional help:
- Burning smell from appliance
- Visible scorch marks on range
- Tripping breakers repeatedly
- Gas smell with gas ranges
- Water damage near electrical components
Don’t risk it. Your family’s safety trumps saving a few bucks. For reliable service check out Professional Range Repair. They’ve helped thousands of frustrated home cooks get back to cooking. Trust me—worth every penny when you’re dealing with serious range issues.
Prevention Tips to Avoid Future Headaches
Smart homeowners fix problems before they happen. Simple maintenance saves big headaches later. Here’s what pros do that most homeowners don’t:
- Clean spills immediately – sugar spills into element tracks cause corrosion
- Don’t overload circuits – microwave + range on same circuit bad idea
- Check connections annually – loose wires cause 25% of heating issues
- Replace elements proactively – every 5 years even if working fine
Most importantly? Listen to your range. Strange noises? Odd smells? Pay attention. Small problems become big ones fast. Annoying clicking sound might mean failing relay. Slight burning smell could indicate melting insulation. Catch issues early—save yourself major hassle later.
Pro Tip: Keep your model number handy always. Write it on fridge. Seriously. Makes ordering parts 10x easier. Most people panic when oven breaks—they can't find model number. Wastes valuable repair time. Be the prepared homeowner everyone envies.Conclusion: Don’t Panic, Diagnose
So your electric range won’t heat. Big deal. Happens to everyone eventually. Most problems have simple solutions. Start basic—power issues first. Then elements. Then sensors. Work methodically through possibilities.
Remember: safety trumps everything. If unsure—stop. Better late dinner than hospital visit. When in doubt call the experts. They’ll fix it right first time. Saves money long run.
Just last week my neighbor tried fixing his range. Burned his hand badly. Now he always calls pros first. Smart move. Learn from others’ mistakes. Don’t be that guy needing Professional Range Repair because you ignored safety warnings.
Keep this guide handy. Print it if you want. Stick it in your kitchen drawer. Next oven emergency happens—you’ll know exactly what to check first. Now go forth and bake that pie you’ve been putting off!